PREPARE
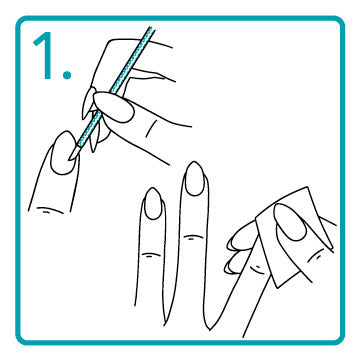
Wash hands thoroughly with soap and water.
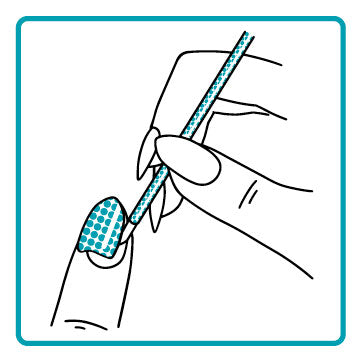
Push back cuticles using a manicure stick, wraps applied over your cuticle WILL lift and peel if not bonded to the nail.
Wipe nails with an alcohol wipe, or polish remover to remove any oils or dust from buffing/cuticle pushing. The wraps need a DRY clean, OIL FREE surface to bond with.
PICK
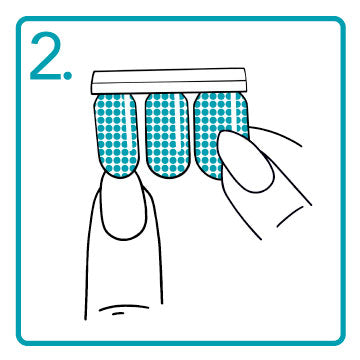
Choose a size that will not overlap the sides of your nail onto your skin, ideally just a bit smaller than your nail.
If you need to trim a wrap, we recommend trimming while the backing is still on the wrap to avoid damaging the adhesive.
If you have short nails you can cut wraps in half and use half per nail.
PEEL
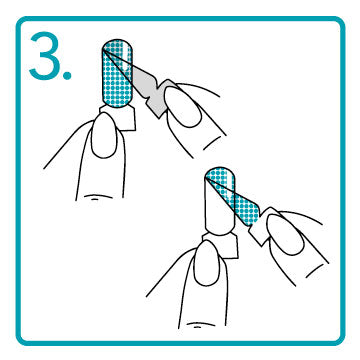
Peel clear top plastic from the wrap and discard.
Then peel the wrap from its backing paper. Taking care not to touch your fingers to the adhesive backing that will bond to the nail.
Tweezers may help removing the wrap from its backing paper.
Peel wraps from backing one at a time to prevent drying.
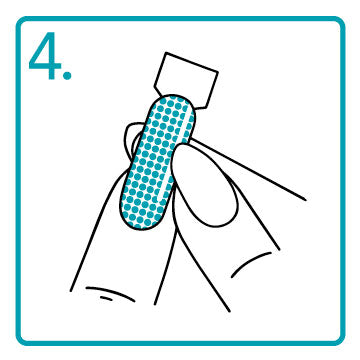
PRESS
Place the wrap on your nail beginning NEAR, but not on the cuticle. Press the wrap from the center out to the edges, ensuring entire wrap is pressed to nail well.
Fold the free edge of the wrap over edge of nail pressing firmly.
You may wish to apply all wraps on each finger of one hand and go back to file the edges off at the same time.
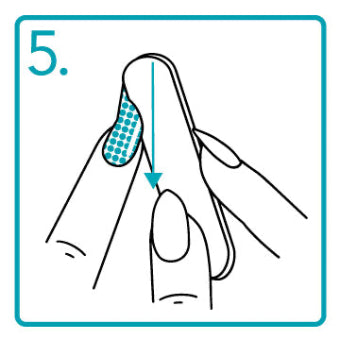
FILE
File off excess wrap in a straight DOWNWARD motion.
You may trim excess with scissors first leaving some hanging over then file.
We recommend starting with the lighter side of the file, filing downward careful not to scratch the top of the wrap. Glitter nails can be a little bit thicker.
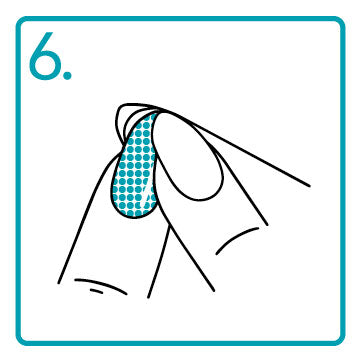
PRESS & SMOOTH
Press again firmly over your entire nail with your finger.
Pay special attention along edges, near the cuticle and the free edge to firmly secure the entire wrap!
Avoid submerging your manicure in water for 4-6 hours for the best results.
We like to apply nails in the evening (after showers) so they can really bond while you sleep!
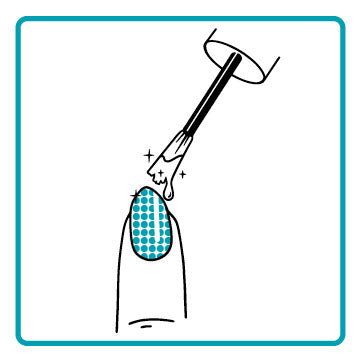
GLOSS
While a topcoat is not mandatory it will add gloss, protection and extend the wear of your mani!
After letting nails air-cure for an hour or so; apply topcoat in a THIN even layer, be sure to apply to the free edge of your nail as well to seal the wrap.
DO NOT use Quick Dry topcoats as they will cause the wrap to become brittle, shrink and bubble!
Matte topcoats are fun too!

MANICURE MAINTENANCE
After days of wear you may wish to freshen up your manicure.
You can gently file the free edge of your nails to reshape as desired (downward to avoid lifting the wrap)
We like to add a refresher top coat to make the gloss pop and re-seal the free edge.
Wear gloves if you are submerging hands in water for long periods.
Wraps are durable but as with any manicure do not use your nails as tools to open products.
